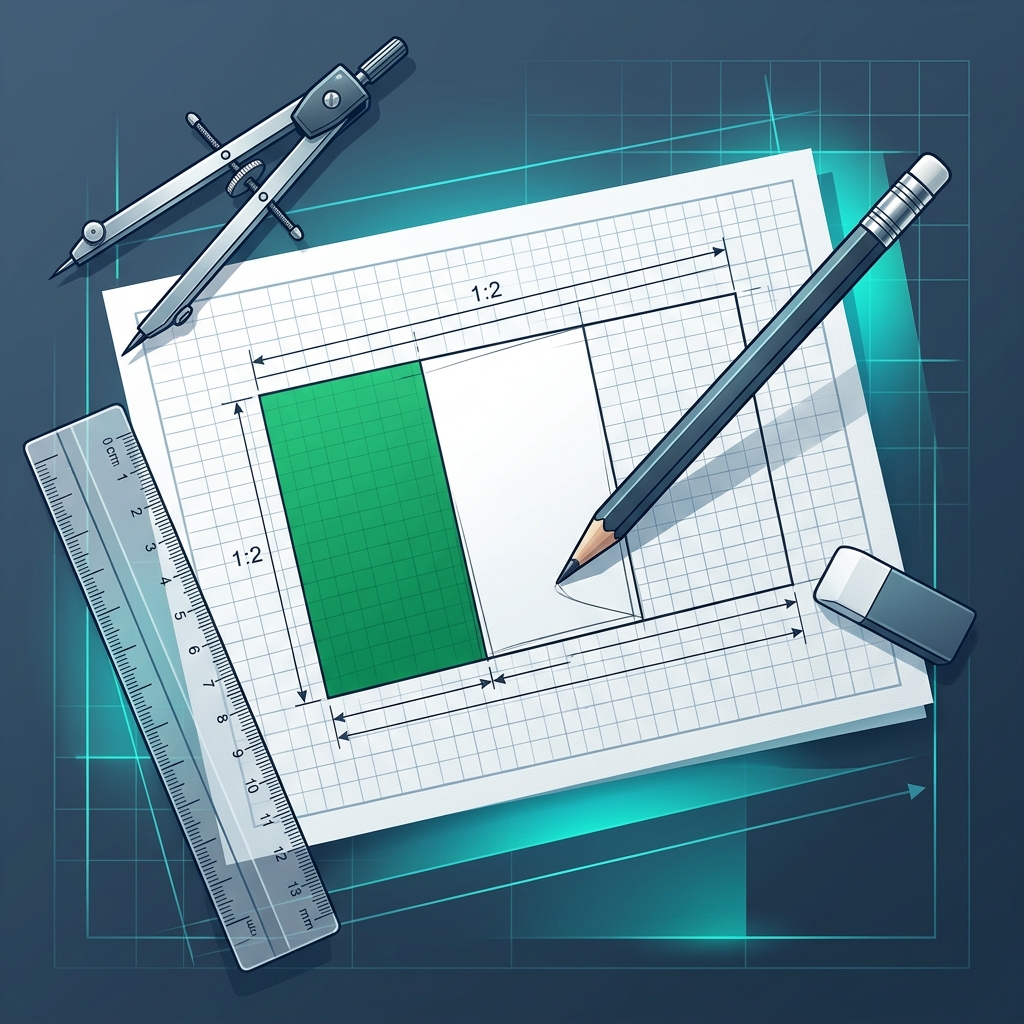
How to Draw a Flag: Step-by-Step Guide for Beginners
Why drawing a flag well is harder than it looks
A flag looks simple — stripes, maybe a symbol — but accurate reproduction requires understanding proportions, geometry, and color theory. Even professional artists struggle to draw the Stars and Stripes freehand because the canton (blue rectangle with stars) sits at a very precise position that most people get wrong.
This guide teaches you the methods that vexillographers (people who draw and design flags) use to get proportions right every time, whether you're working in pencil on paper, ink on fabric, or pixels on screen.
Before you draw: understand flag proportions
Every flag has an official aspect ratio — the relationship between its width (hoist) and height (fly). Getting this ratio right is the most important step.
Common flag aspect ratios
| Country / flag type | Ratio (hoist : fly) | |---|---| | United States | 10:19 | | United Kingdom | 1:2 | | France | 2:3 | | Germany | 3:5 | | Switzerland | 1:1 (square) | | Most European flags | 2:3 | | International Maritime | 1:2 | | Standard for most designs | 2:3 |
Rule of thumb: Use 2:3 (height to width) unless the flag you're drawing specifies otherwise. For a flag that's 10cm tall, make it 15cm wide.
Method 1: The grid method (best for paper)
The grid method divides the flag into a matrix of equal squares. This lets you place every element proportionally without measuring exact distances.
Step 1: Draw your rectangle
Using a ruler, draw a rectangle in your chosen ratio. Example: 12cm × 18cm (2:3).
Step 2: Divide into a grid
Divide the rectangle into a grid of equal squares. The size of the grid depends on the flag:
- Simple tricolors (France, Germany): divide into 3 columns or 3 rows
- Nordic cross (Norway, Sweden): divide into 9 columns × 6 rows — the cross sits at columns 3 and 4, spanning all rows
- US flag: divide into 13 rows (horizontal stripes); canton covers rows 1–7 and roughly columns 1–4
Lightly draw your grid with a pencil — you'll erase it later.
Step 3: Sketch major shapes
Using the grid as your guide, sketch the large shapes first:
- Background color areas (stripes, fields)
- Cross or diagonal positions
- Canton or union position (top-left corner section)
Do not add symbols yet.
Step 4: Add symbols
Once the field shapes are confirmed, add the central symbol. Use the grid to center it precisely:
- Center of the flag is at the intersection of the center column and center row
- For canton symbols (stars in the US flag), mark each star position relative to the canton grid
Step 5: Ink over the pencil
Ink over your pencil lines using a fine-liner or ballpoint pen. Work from large shapes to small details. Let the ink dry fully before erasing the grid.
Step 6: Add color
Work from light colors to dark. If painting:
- Apply the lightest color (white, yellow) first
- Let it dry
- Apply medium colors (blue, green)
- Apply dark colors (red, black) last
Method 2: Compass and ruler (best for precise geometry)
Some flags — particularly those with circular elements or complex crosses — require geometric construction rather than grid estimation.
Drawing the Swiss cross precisely
The Swiss flag is a 1:1 square with a white cross. Official proportions:
- Draw a 30-unit × 30-unit square
- Draw the vertical bar of the cross: 6 units wide, 20 units tall, centered
- Draw the horizontal bar: 20 units wide, 6 units tall, centered
- The bars overlap in a 6×6 square at the center
- Fill the arms and intersection white; background is red (PMS 485)
Drawing a circular emblem (target or disc)
- Find the center point of the field (intersection of diagonals)
- Set a compass to the desired radius
- Draw the circle lightly in pencil
- Ink the outline; fill with color
Drawing crescents with a compass
A crescent is two overlapping circles. The outer circle is the full moon; the inner circle creates the negative space:
- Set compass to the outer radius; draw the full circle (lightly)
- Shift the compass center slightly (the direction of the crescent's opening) and draw a second, slightly smaller circle
- The crescent is the area of the first circle that is NOT covered by the second
- Ink only the crescent's outline
Method 3: Digital drawing (fastest, most accurate)
For digital flags, you don't need to measure manually — you set exact pixel dimensions and use snapping to place elements precisely.
In the FlagCreators editor
The flag editor handles all proportions automatically:
- Choose your flag ratio from the ratio selector
- Add background pattern (stripes, cross, diagonal — all pre-calculated)
- Add symbols from the symbol library or draw custom shapes
- Export as PNG (screen use) or SVG (print-ready vector)
This is the fastest way to produce an accurate flag without measuring anything by hand.
In Inkscape (free) or Adobe Illustrator
- Set document size to your flag dimensions (e.g., 900 × 600px for 3:2)
- Enable snapping to document edges and grid
- Use the rectangle tool for stripes and fields
- Use the ellipse tool for circles and crescents (hold Shift for perfect circles)
- Use Align and Distribute to center symbols precisely
- Export as SVG for infinite scalability
Drawing the 10 most common flag types
1. Horizontal tricolor (France, Germany, Italy)
- Draw your rectangle (2:3 or 3:5)
- Divide into thirds horizontally
- Fill each third with its color
- Done — tricolors have no other elements unless specified
2. Vertical tricolor (same principle, rotated)
Same process but divide into thirds vertically. The hoist-side stripe is always listed first in the flag's official description.
3. Nordic cross (Norway, Sweden, Finland, Denmark, Iceland)
- Draw your rectangle (usually 8:11 or similar)
- The vertical bar of the cross is at 2/5 from the left (hoist side)
- The bar width is typically 1/4 of flag height
- Extend bars to all edges
- For multi-colored crosses (Norway: blue cross outlined in white on red), draw the outer white border first, then center the blue cross within it
4. Saltire / diagonal cross (Scotland, Jamaica)
- Draw both diagonals of the rectangle (corner to corner each way)
- The cross width is typically 1/3 of flag height
- Use the diagonal lines as your center guide
- Draw parallel lines either side of each diagonal
- Scotland: white X on blue; Jamaica: yellow X dividing black and green triangles
5. Quartered flag
- Draw a horizontal center line and a vertical center line
- This divides the flag into four quadrants
- Fill each quadrant (alternating or different colors)
- Add any central emblem over the center point
6. Flag with canton
A canton is a rectangular section in the top-left corner, typically covering the upper-left quarter to third of the flag.
- Draw the main flag field
- Add a rectangle in the top-left: typical canton is 1/4 to 1/3 of flag width, full height of the upper half
- Fill the canton with its color
- Add any canton elements (stars, badge) within the canton
7. Sun or disc in center (Japan, Bangladesh)
- Draw the flag rectangle
- Find the exact center (draw diagonals; center is the intersection)
- Draw a circle centered at that point
- Japan's disc: diameter = 3/5 of flag height
- Bangladesh's disc: diameter = 1/5 of flag height but shifted slightly toward the hoist
8. Crescent and star (Turkey, Pakistan)
- Draw the flag field
- Center the crescent in the middle or toward the hoist (Pakistan: slightly left of center)
- Draw outer circle of crescent, then inner offset circle
- Erase the inner circle's overlap area
- Add the star inside the crescent's opening; tip of star points toward the crescent's concave side
9. Single central emblem
- Find the flag's exact center
- Draw the emblem centered on that point
- Scale to approximately 30–40% of flag height for legibility
- Use the grid method for complex emblems (eagles, coats of arms)
10. Triband with emblem (Mexico, Canada)
- Draw horizontal or vertical tricolor
- Locate the center of the middle band
- Draw the emblem centered in that middle band only
- The emblem should not overlap into the side bands
Common mistakes and how to fix them
| Mistake | Why it happens | Fix | |---|---|---| | Stripes unequal width | Eyeballing instead of measuring | Always use a ruler; mark stripe positions with pencil before drawing | | Symbol off-center | Not finding the true center | Draw both diagonals; center is where they cross | | Crescent looks like a circle | Inner circle too similar in size | Make inner circle at least 15% smaller radius than outer; shift center significantly | | Colors bleed into each other | Painting wet-on-wet | Let each color dry fully before applying the adjacent one | | Nordic cross position wrong | Centering the cross instead of offset | Cross vertical bar should be at 2/5 from hoist, not 1/2 | | Stars in canton too large or small | Guessing the scale | Each star in the US flag is 0.0616 of flag height — measure, don't guess |
Tools you need
For paper drawing
- Ruler (metal edge for inking)
- HB or 2H pencil for underdrawing
- Fine-liner 0.3mm for outlines
- Compass (for circles and crescents)
- Set square for right angles
- Watercolor or colored pencils for fill
For digital drawing
- FlagCreators editor — designed for flags specifically
- Inkscape (free vector editor)
- Adobe Illustrator (professional)
- Any pixel editor (Photoshop, GIMP) — but use vector for flags you'll print
FAQ
What size should I draw a flag for practice? A4 paper in landscape orientation works well. A 2:3 flag fills it nearly completely: 20cm × 30cm. This is large enough to add detail but small enough to complete in a sitting.
Can I trace a flag to learn proportions? Yes — tracing existing flags is a legitimate learning method. Print a reference, trace the outlines, then reproduce from memory. The goal is to internalize proportions, not copy the art.
How do I draw the US flag accurately? The US flag has the most precise official specifications of any flag. The canton covers 7 stripes deep and has a specific star pattern in a 4-5-4-5 arrangement. Use the US Government's official flag specification (4 USC 1) as your reference for every measurement.
What's the hardest flag to draw? Cambodia (Angkor Wat silhouette), Bhutan (dragon), and Turkmenistan (carpet stripe pattern) are considered the most difficult due to their complex central imagery. Simplify the central image to a bold silhouette if you're working at small sizes.
Design a flag without measuring: → FlagCreators Editor | → AI Flag Generator | → Random Flag Generator
Ready to apply these concepts?
Start designing your own custom flag using our free AI-powered canvas editor.